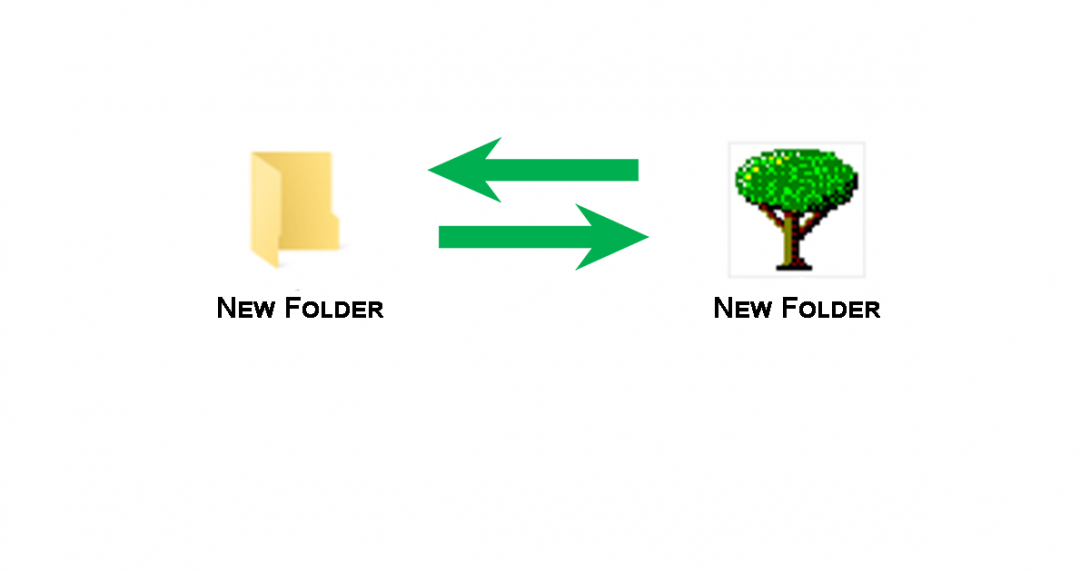
Windows 10 comes with it’s own set of icons. You can change the default icon as you like in different ways, or restore the default folder icon in Windows 10. In this post, we will show you how to change or restore default icon for personal folders in Windows 10 in various ways.
You can change or restore the default icon for a folder in Windows 10 using any of the following methods:
- Change or Restore default icon with utility (the easy way)
- How to Change default icon for a Folder in Properties
- How to Change default icon for a Folder in desktop.ini file
- How to Restore default icon for a Folder in Properties
- How to Restore default icon for a Folder in desktop.ini file
Change or Restore default icon for a Folder with utility
If you use a lot of icons, then it is easier to have a utility for it. Folder Marker is one of these utilities. It allows you to change icons from the list of professionally designed icons, change the color for the organization, and make your desktop in your own way.
Let’s see how to change or restore default icon with Folder Marker.
- How to change default icon with Folder Marker

- Right-click on the folder
- Select the icon from the Mark Folder menu
- How to restore default icon with Folder Marker

Restore default icon with Folder Marker
- Right-click on the folder
- Mark Folder ->Restore default
- See the result

The result: default icon returned to its original form
How to Change default icon for a Folder
We can change the folder default icon in Properties and in the desktop.ini file In Windows without using any software addons.
- How to Change default icon for a Folder in Properties

- Create a new folder on the desktop, or choose the folder you already have
- Right-click on the folder and click on the – “Properties”
- Choose the “customize” tab
- In the folder icon section select “Change Icon”
- Click on an icon from the list of icons
(There it is not always shell32.dll, so you need to add that %SystemRoot%\System32\SHELL32.dll in Look for …)

6. Click “Ok” and see the result!

( as a result, you will see that your icon has changed to the one you selected in step 5 )
- How to Change default icon for a Folder in desktop.ini file
- First of all, you need to make sure that desktop.ini is visible through Windows configuration. How to check it? Go to the Control Panel, open File Explorer Options, and click on – View tab. Uncheck – “Hide protected operating system files”, “Hide extensions for known file types”,check – “Show hidden files, folders and drives”. Click on Ok.

Checked and unchecked needed configurations.
- Create a new text file and name it desktop.txt ( in the folder you want to change).
- Open desktop.txt and past this:
[.ShellClassInfo]
IconResource=C:\FolderIcon.ico,0
where “IconFileName.ico” should be replaced with a real path to the icon file you want to use. We use pre-installed icons, so, add %SystemRoot%\System32\SHELL32.dll
- The first line tells Windows there are custom folder settings. The second line is the full path to the icon file we want to use for the folder.

We need to copy and paste the full path of our file after IconResource= and change the index number if we need ( the value after the comma). If the .ico file has one icon then the index value of the first icon is 0. If there are ten icons in a .icl, .dll or .exe file the index of the fourth icon will be 3. We have a .dll file and we need the sixth icon, so we write 5.
- Save text file, after that – rename desktop.txt to desktop.ini. Don’t name the file desktop.ini at the beginning, you need to rename it, or it won’t work.
Save desktop.txt

- Use Command Prompt. Press Win+R on the keyboard and type “cmd”. Press Ok.
- Command Prompt window will appear. Write attrib +r, and past your path of the folder you want to change. Use quotes for spaces.
attrib +r [pathtofolder]

- The icon of the folder has changed and you can see the result. If not – sign out and sign in to restart the explorer process.

Result: default icon has changed
How to Restore default icon for a Folder
We can restore the folder default icon in Properties and in the desktop.ini file.
- How to Restore Folder default icon in Properties

- Choose the folder you already have and want to restore
- Right-click on the folder and click on the – “Properties”
- Choose the “customize” tab
- In the folder icon section click on “Change Icon”
- Click on the Restore Defaults button
- Click “Ok” and see the result!

The result: default icon has changed to its original form
- How to Restore default icon for a Folder in the desktop.ini file
- If you changed the folder default icon in the desktop.ini file as we said, then only what you need to do is to change the text document in the folder back to txt format.

The folder we changed before
- Open your folder and rename desktop.ini to desktop.txt

- Now you can see that the icon of the folder – changed to the previous one. If not, it will usually do so after several seconds, or sign out and sign in to restart the explorer process.

The result: folder icon returned to its original form
Conclusion
Now you know how to change or restore the default icon for a Folder in Windows 10 in standard ways or with the help of utility. Use these tips and make dealing with folders easier.
+ Also, check our article about how to change folder icon to a custome one.
